

In this tutorial, you will learn how to create a simple app that can grant access to a Gmail account, filter the list of messages, and assign them a specific label. The code shown here is written in Node.js but you can easily adapt it to your preferred language.
Create a Project in Google API Console
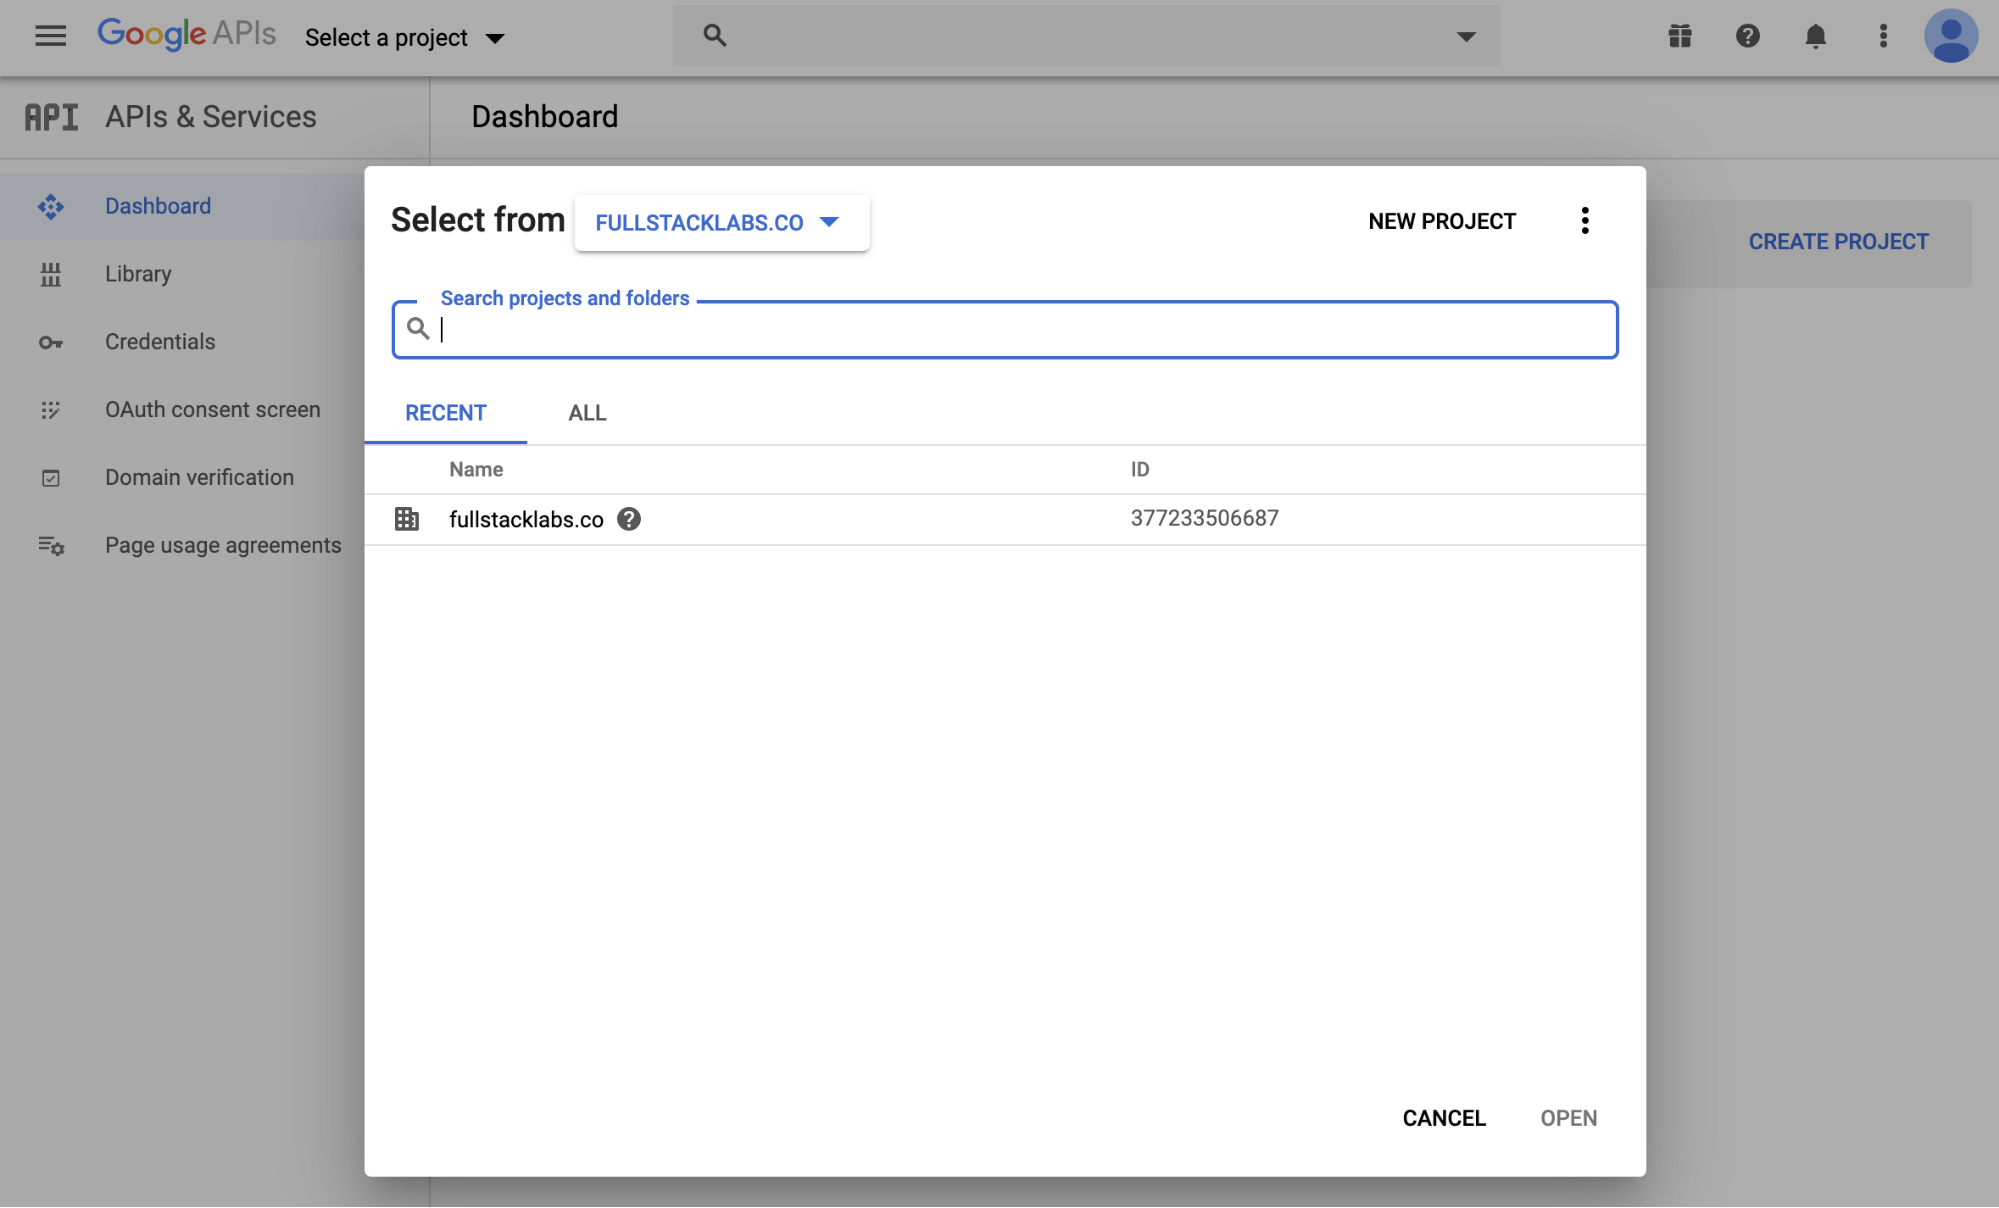
First, create a project in the Google Developers Console. Visit https://console.developers.google.com/ and log in, then click on Select a project > NEW PROJECT.
Enable the Gmail API Library
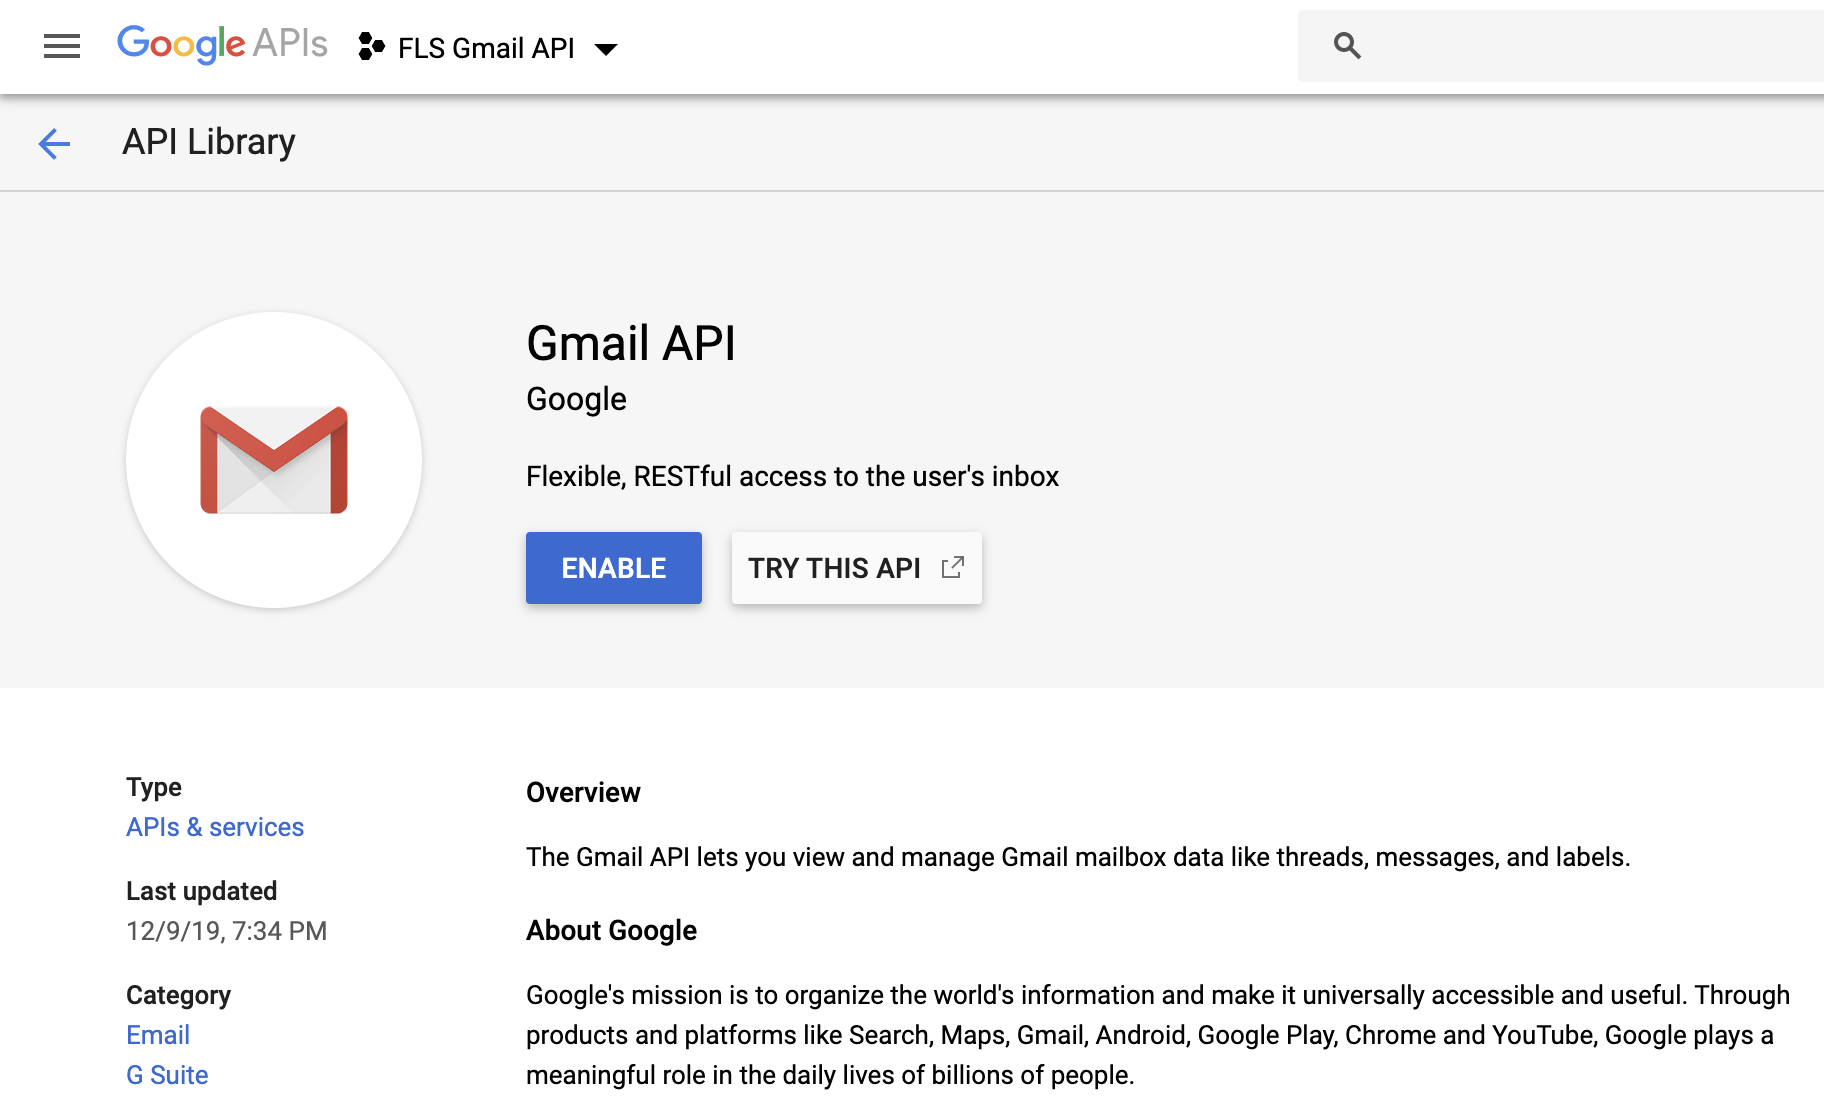
Navigate to the Library, search for the Gmail API and enable it.
Configure OAuth Consent Screen
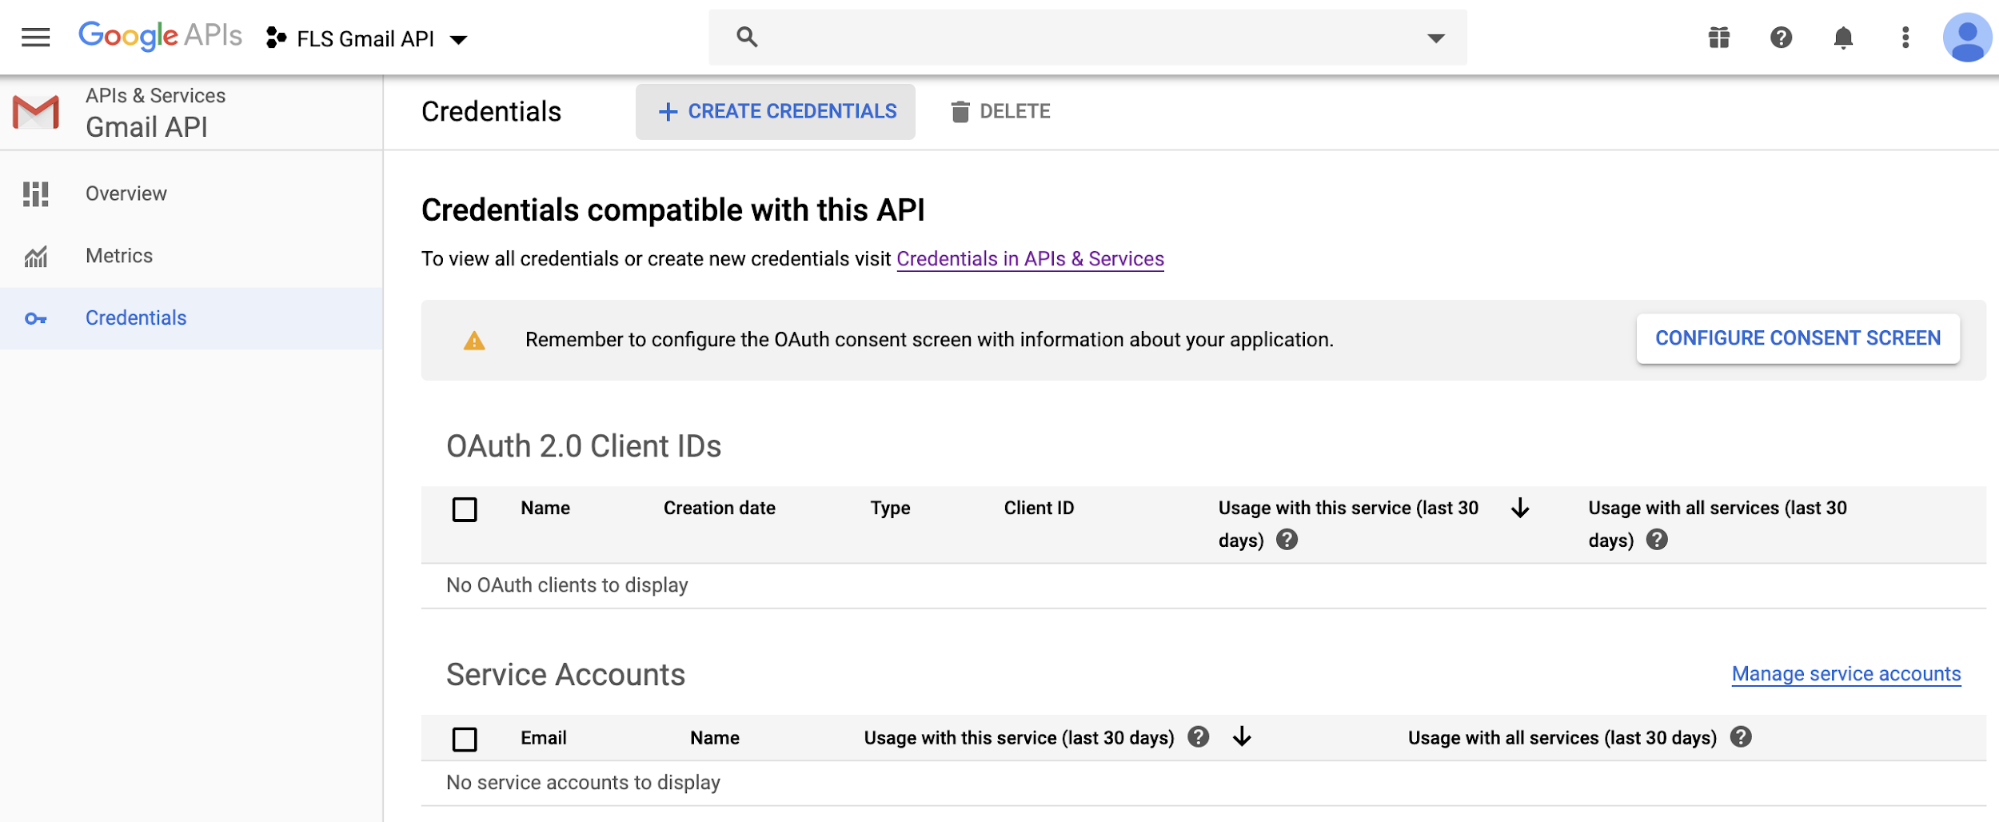
Before creating the credentials, configure the OAuth consent screen by clicking on the button CONFIGURE CONSENT SCREEN.
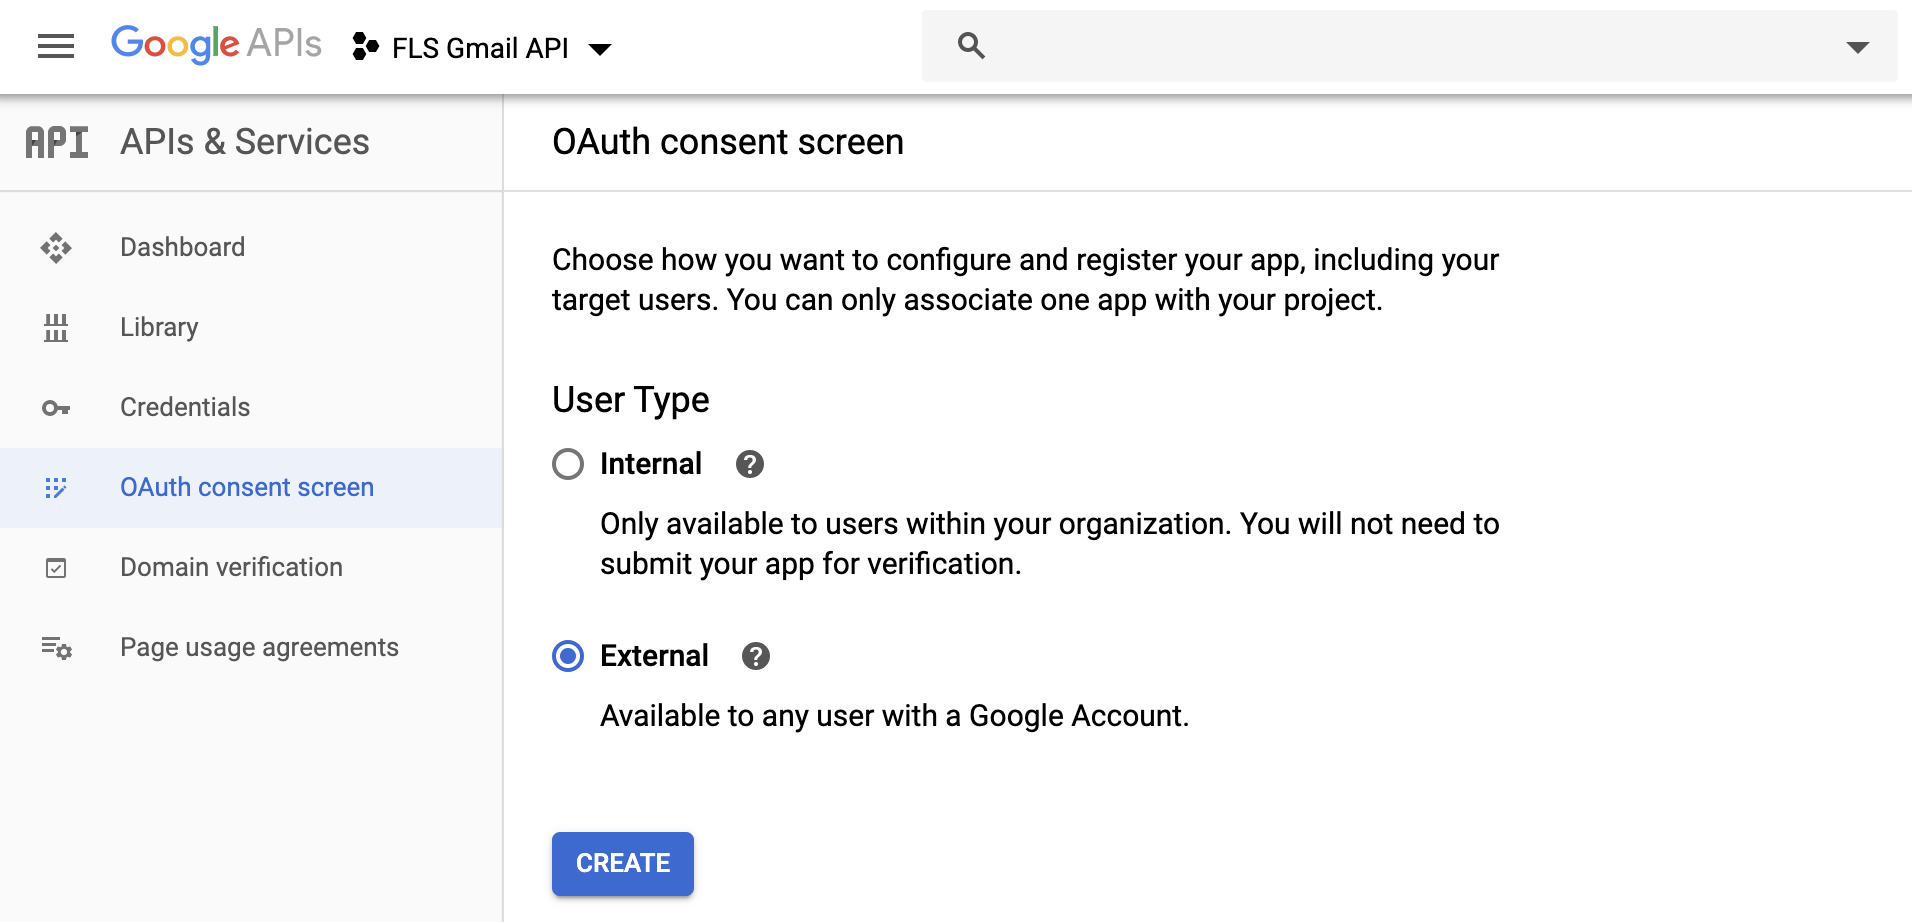
Select the User Type depending on the users who will be able to use the application.
Type the application name and click Save.

Create Credentials
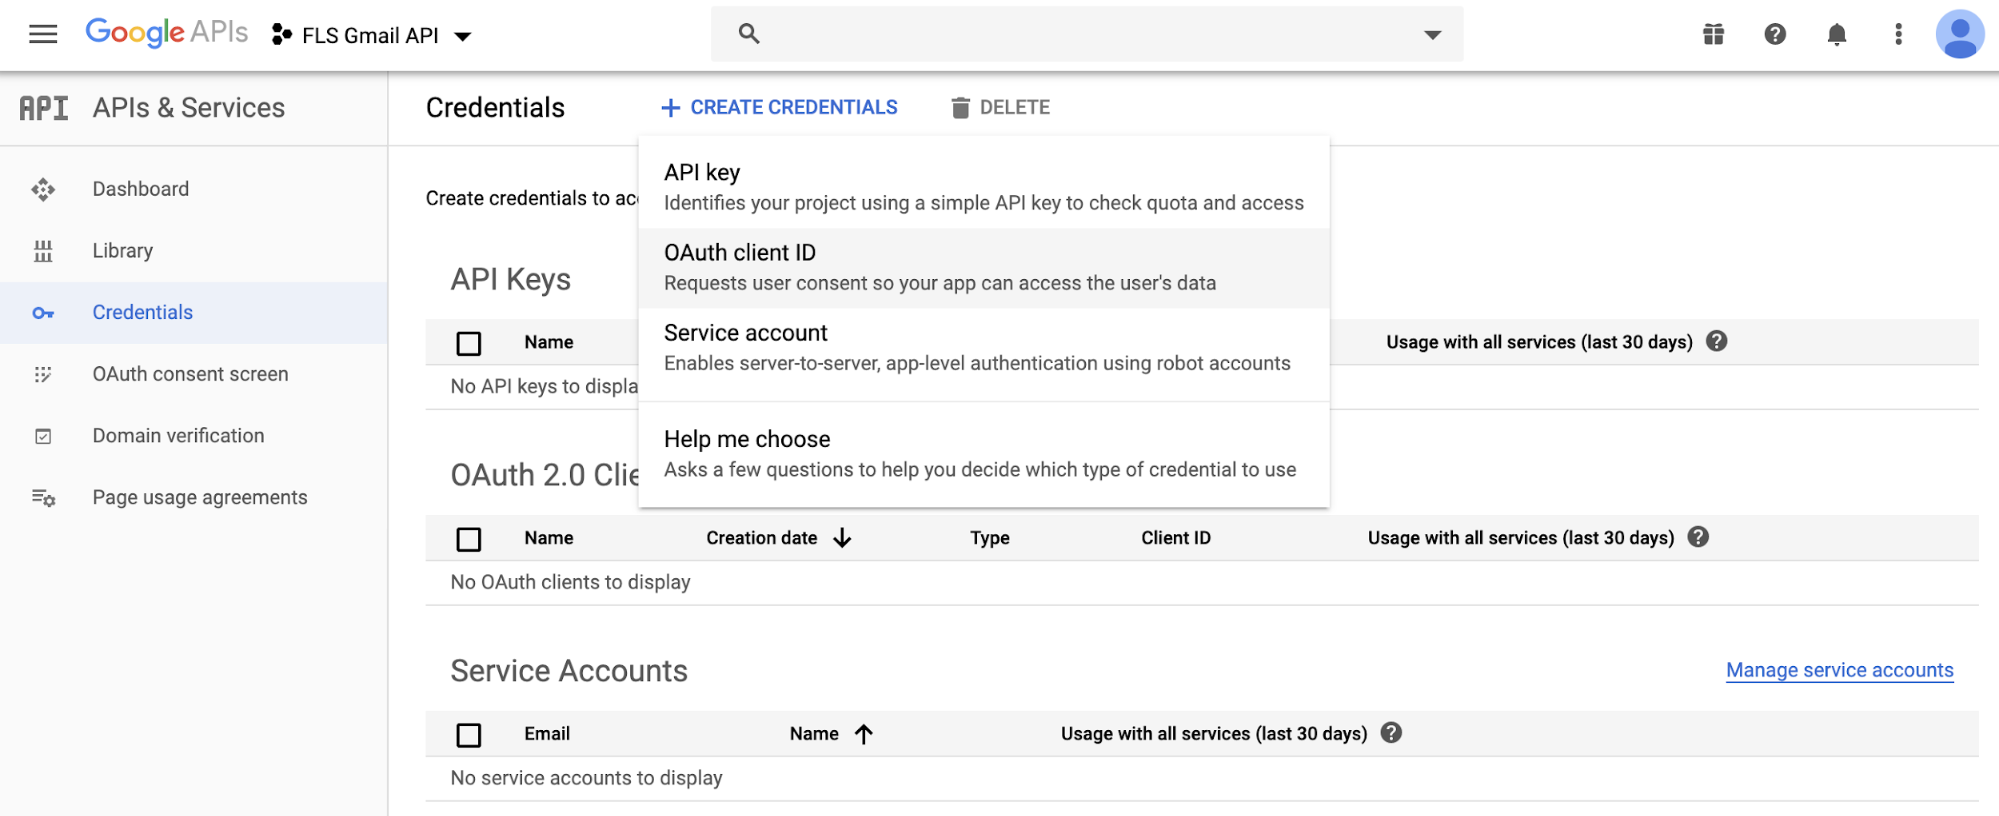
In the left menu, click on Credentials > CREATE CREDENTIALS, and select OAuth client ID.
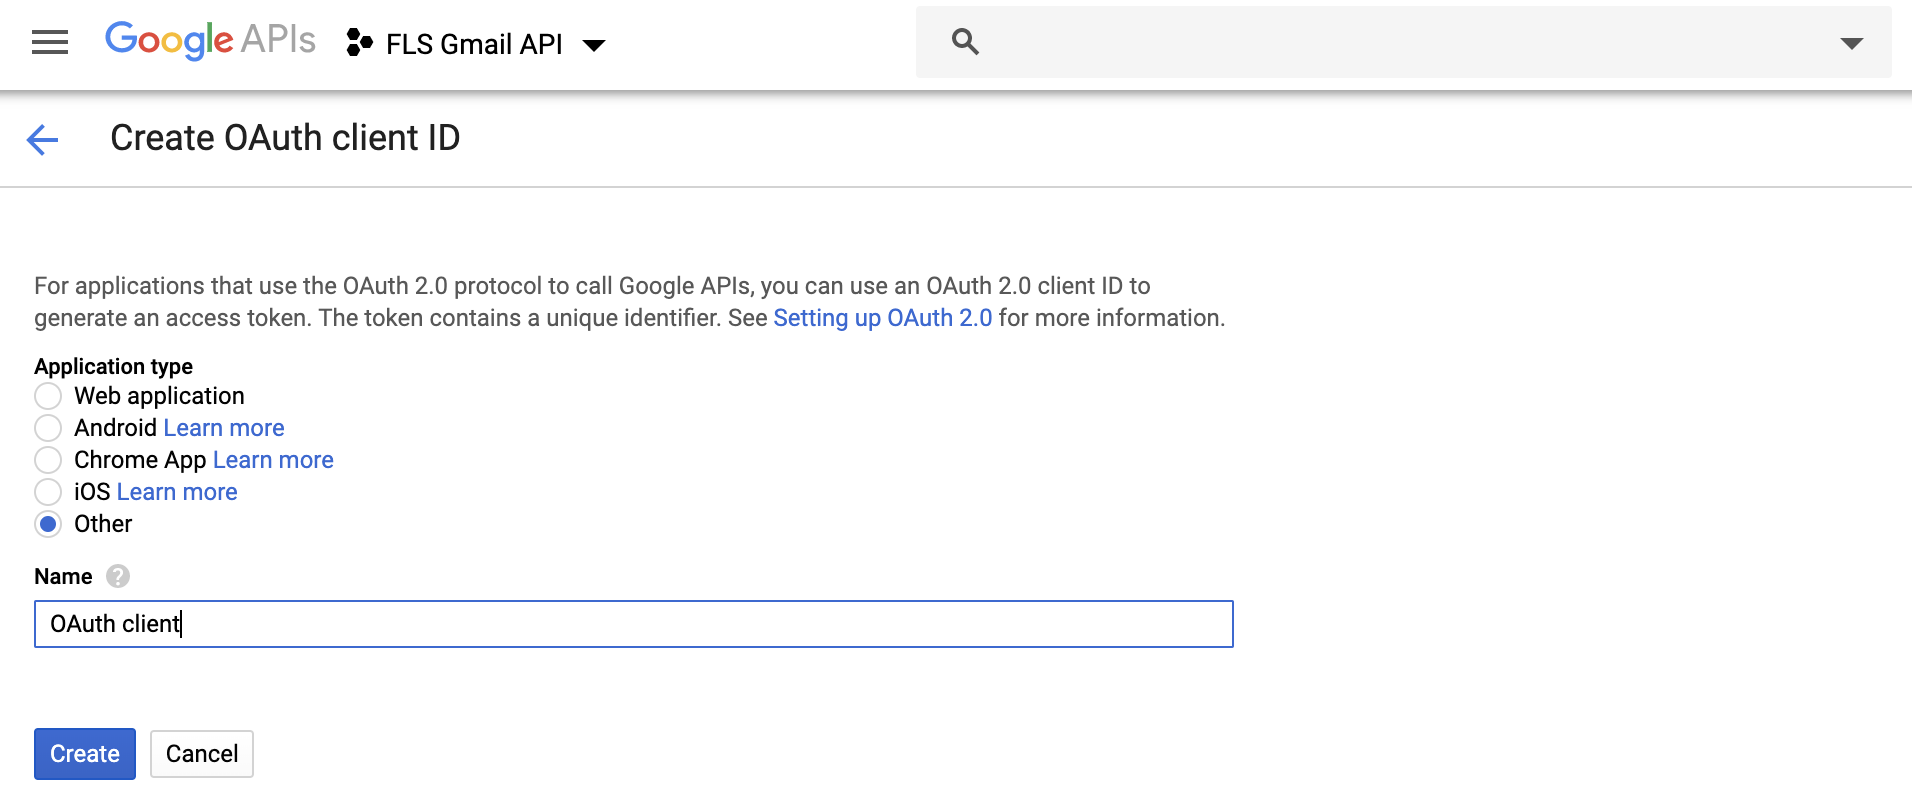
Select the application type and enter a name for the credentials.
You should be able to see the new credentials under the OAuth 2.0 Client IDs section. Click on the download icon to download the credentials file. Then rename it to credentials.json.

Set Up the QuickStart Example
Navigate to the Node.js Quickstart page, copy the quickstart example provided by Google, and save it in a file named index.js.

In the Terminal window, go to the Working Directory where you created the file index.js, and run the command yarn add googleapis@39 to install the Gmail API library.
Then run the command node . to execute the sample code. The first time you will be asked to authorize the application by visiting a URL like the example below. Open that URL in a browser and follow the steps. At the end, you will get a code that you have to paste in the terminal window right where it says “Enter the code from that page here.”
After the app is successfully authorized, a list of the current labels from the user’s mailbox is shown.
Custom the Example Code
The authorize function in the quickstart example is in charge of validating the credentials and generating the token. You have to send the constant oAuth2Client as a parameter for the functions listed in the next sections.
Now, in order to be able to manage the labels of the messages, you need to change the initial scope from gmail.readonly to gmail.modify.
Also, delete the token.json file from your working directory.
Then, go to the listLabels function and add the label id in the console log.
Finally, run the application by using the command node . to authorize the app again and update the access permissions. You should be able to see the label list but now each label with its corresponding id.
List Messages
The list messages function uses the gmail.users.messages.list to list the messages that meet the criteria given by the query param.
You can call this function as follows:
This will retrieve all messages from the inbox with a subject that includes the word “reminder.”
Modify Labels
You can modify the label of any message by using this function.
Loop through the previous messages. Call the modifyLabels functions with the right parameters.
This call will remove the INBOX label and will add the PENDING label to all the messages. Label_11 is the id of the label PENDING that we created using the Gmail site.
For sake of simplicity, we created and retrieved the id of the PENDING label manually. However, the Gmail API provides the methods that will let you do that programmatically. We encourage you to check the API Reference by visiting Gmail API Documentation.
Let us know how you did!
Conclusion
Using techniques like what is listed above, we have had the opportunity to address our clients’ concerns and they love it! If you are interested in joining our team, please visit our Careers page.
---
At FullStack Labs, we are consistently asked for ways to speed up time-to-market and improve project maintainability. We pride ourselves on our ability to push the capabilities of these cutting-edge libraries. Interested in learning more about speeding up development time on your next form project, or improving an existing codebase with forms? Contact us.